Most light scuffs on an acrylic crystal disappear at home with a tube of Polywatch and five minutes of focused work. Deeper scratches on mineral glass or sapphire almost always need a professional, because DIY compounds either can’t cut the material or strip anti-reflective coatings the moment you touch the surface.
The crucial boundary: This DIY path only applies to acrylic (plastic) crystals—the domed Hesalite on a Speedmaster Professional, the soft lens on vintage dive watches, or any plastic-looking crystal that yields under a fingernail. Mineral glass and sapphire are harder than the abrasives in consumer polishes; rubbing them just smears a greasy film. Also, if your crystal is held in place with adhesive instead of a gasket (common on some fashion watches and older field watches), skip all wet compounds—liquid polish can seep into the bond line and undermine water resistance.
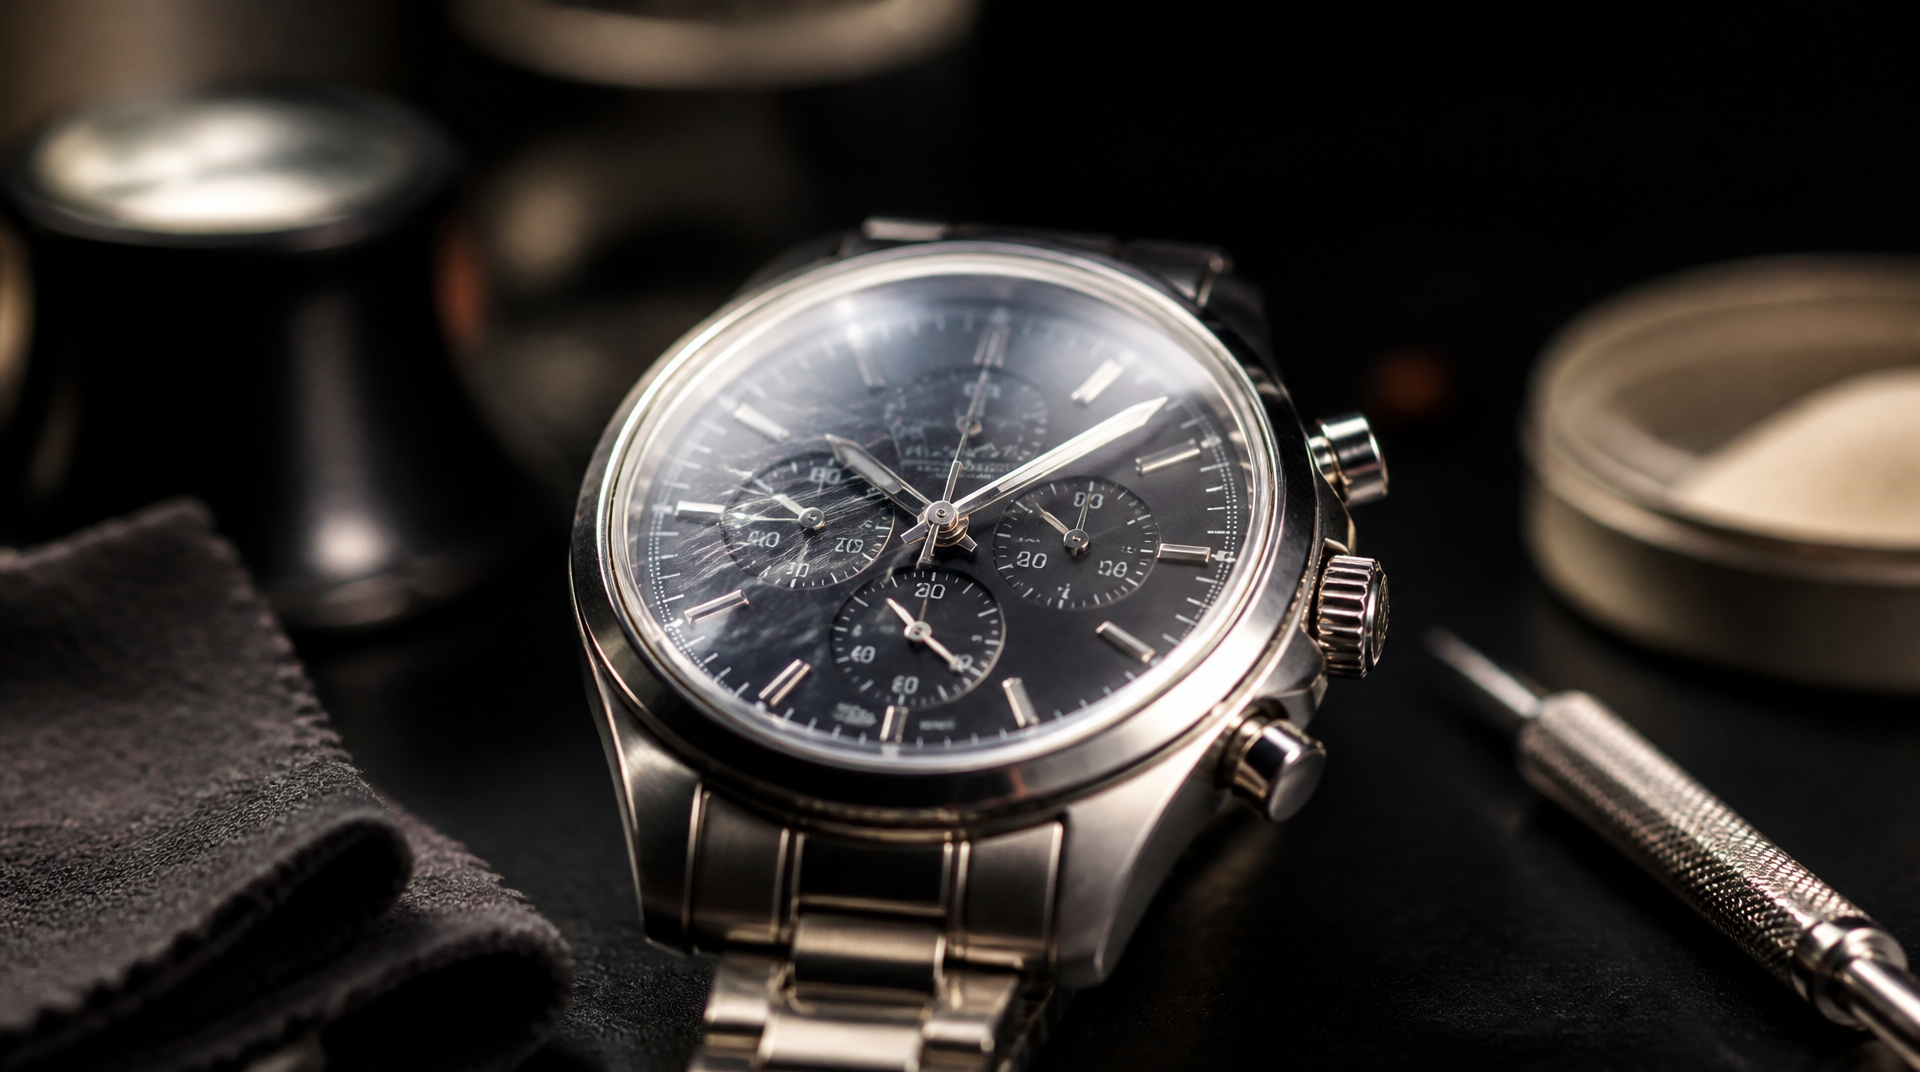
Pre-polish checks: what you’re really working with
Before any abrasive touches the crystal, run through two 30‑second checks. They prevent the most common repair that isn’t needed.
1. Is that even a scratch?
Many marks that mimic scratches are leftover polymer from a peeled protector, dried wax, or an old coating. Dampen a microfiber cloth with isopropyl alcohol (70% or higher) and rub the suspect area firmly for 20 seconds. If the line vanishes or shifts, you removed residue—stop. If it stays put, it’s a real scratch.
2. Confirm the crystal material—do it now.
Tap the crystal lightly with your fingernail. Acrylic produces a dull thud and feels slightly soft. Mineral glass rings out like a wine glass. Sapphire delivers a crisp, high‑pitched ping. Next, hold the watch under a single bright LED and tilt it. A blue, green, or purple color shift usually means an anti-reflective coating is present. If you see that color cast or you still aren’t certain, let a jeweler identify the crystal and recommend a safe route. Guessing wrong turns a $10 fix into a $100 haze job.
DIY vs. professional scratch removal at a glance
| Aspect | DIY (acrylic only) | Professional service |
|---|---|---|
| Crystal types | Acrylic (Hesalite‑style plastic) | Acrylic, mineral glass, sapphire |
| Typical materials | Polywatch, Novus 2‑3, or diamond paste (0.5‑2 micron) | Lapidary machines, graded diamond pastes, cerium oxide, AR re‑coating equipment |
| Cost | $8–$20 per tube | $35–$150+ depending on crystal and labor |
| Time | 5–20 minutes at your bench | 1 hour to several days |
| Risk to crystal | Low if you stop at light pressure; over‑polishing can flatten the dome | Low; pros level surfaces evenly, replace gaskets, and re‑apply coatings |
| Result quality | Removes light scuffs and haze; deeper gouges remain faint | Near‑factory clarity; deep scratches fully leveled |
| AR coating safety | Not applicable (acrylic rarely has AR) | Risky if coating is external; professionals mask or re‑coat |
Matching the fix to your crystal type
Walk through these cases before you order a polish or book a watchmaker. The right call depends entirely on the material and the scratch depth.
Acrylic crystal with light scuffs or haze
→ DIY with Polywatch or a fine plastic polish. This is the safest home job. Stop as soon as the haze clears.
Checkpoint: if the scratch catches your fingernail, you may need to wet‑sand with 800–1200 grit first. That’s still doable but raises the risk of flattening the dome, so proceed in small steps and inspect every 30 seconds.
Acrylic crystal with deep gouges or cracks
→ Replace the crystal. Removing enough material to smooth a deep rut thins the profile and can create a magnifying‑glass distortion that’s worse than the scratch. A generic domed acrylic lens is inexpensive for a watchmaker to swap.
Mineral glass crystal with any visible scratch
→ Professional service. Consumer polishes lack the hardness to cut mineral glass effectively. Uneven hand pressure creates optical waves you can’t unsee. A pro uses cerium oxide on a flat lap and a controlled setup to keep the surface optically clean.
Sapphire crystal with a scratch
→ Professional—or replace if cost allows. Sapphire is so scratch‑resistant that a visible scratch usually means the crystal took a serious impact. Polishing sapphire requires coarse diamond paste and heavy lapping time; many pros will recommend a new crystal to guarantee water resistance and AR‑coating integrity.
External anti‑reflective coating on any crystal
→ Skip DIY entirely. Any abrasive strips the coating and leaves a permanent matte patch. Professionals can remove the remaining coating and re‑coat, or polish the bare crystal without smearing the coating.
How to polish an acrylic crystal at home
Use this sequence only on acrylic (plastic) crystals you’ve already confirmed with the tap test and light check. If there’s any doubt, stop and identify the material first.
1. Protect the case
Cover the bezel, case sides, and any exposed crown area with painter’s tape. If the crystal has a visible gasket or tension ring, tape the seam to keep polish from packing the gap.
2. Clean thoroughly (non‑negotiable)
Wash the crystal with warm water and a drop of dish soap. Dry with a clean microfiber cloth, then wipe with isopropyl alcohol to remove all residual oils. Even a single dust grain can swirl‑scratch the surface during polishing.
3. Apply a small amount of polish
Polywatch or Novus No. 2 work well. Place a pea‑sized drop directly on the crystal. Use a clean microfiber cloth or a cotton polishing wheel bit on a low‑speed rotary tool (under 1,000 RPM). High speed generates heat that softens or deforms acrylic instantly.
4. Work in tight, overlapping circles
Press lightly. Concentrate on the scratched area but feather into the surrounding surface to avoid creating a dip. After 90‑120 seconds, wipe the residue away and inspect under side light. If haze has reduced but isn’t gone, repeat with fresh polish. Two or three cycles are normal for light scuffs.
5. Finish with a clean cloth
Once the crystal looks clear, buff with a dry section of microfiber. Do not use glass cleaners on acrylic—they can cause micro‑crazing over time.
Success check: Hold the watch under a single light source and tilt it. The reflection should be smooth, without foggy halos. If a soft haze remains after multiple cycles, the scratches are deeper than the polish can handle in a short session, and pushing further risks making the surface wavy. Stop and consult a watchmaker.
Stop immediately if: you feel the crystal getting warm, the reflection starts to look distorted (lensing), or polish works into gaps around the crystal edge. Halt, clean up, and reassess. Water resistance can be compromised once fine compound migrates past seals.
The hidden risks of DIY polishing
Even on the Right crystal, a few mistakes turn a clear lens into an eyesore.
- Dome distortion: Acrylic crystals have a domed shape. Concentrating on one spot can flatten it, creating a magnifying effect that’s more annoying than the original scratch.
- Swirl haze from dirty cloths: A cloth that’s picked up dust or dried compound becomes an abrasive pad. Use a fresh, clean section of cloth on every polishing cycle.
- Edge seal contamination: Polish pushed into the crystal‑to‑case junction can dry and wick moisture later, encouraging fog and corrosion. Taped seams help but aren’t foolproof.
- False success: A crystal may look clear when dry but show hazing under sunlight or a strong LED. Always inspect under directional light, not ambient room light.
The optical trade‑off you accept with DIY
Even a well‑executed acrylic polish rarely returns the crystal to factory optical flatness. The slight dip or softened dome can create a wavy reflection that shifts as you tilt the watch, or a mild lensing effect over the hands. For a weekend beater, you’ll probably never notice. For a watch with a cyclops date magnifier, or one you use to read precise time, that distortion can be more distracting than the original scratch. In those cases, a crystal replacement—often under $50 installed for acrylic—gives a truly clear lens without the gamble. When clarity matters more than saving money, skipping the polish is the better decision.
When to hand it to a professional
Book a professional crystal service in these cases:
- The watch has a water‑resistance rating you still depend on.
- The crystal is mineral glass or sapphire.
- The scratch sits directly over a date window or cyclops magnifier—uneven polishing distorts magnification.
- The watch has high sentimental or monetary value where a factory‑spec crystal replacement is the safer long‑term move.
- You’ve already attempted DIY and are left with a cloudy haze that won’t buff out; pros can often recover this.
Most watchmakers can also refresh case gaskets and pressure‑test the watch after the crystal work, an essential step that DIY can’t offer.
Related questions
Can you use toothpaste to polish a watch crystal?
Toothpaste contains mild abrasives that can take micro‑haze off acrylic in a pinch, but consistency is unpredictable and it often adds fine swirls. It’s not formulated for optical surfaces and won’t touch mineral glass or sapphire. Purpose‑made plastic polish gives predictable, controllable results.
Does Polywatch work on mineral glass?
Polywatch is designed for acrylic and has almost no effect on mineral glass. The abrasive in Polywatch is far too fine and soft to cut glass oxide. Attempting to polish mineral glass with it will only create a greasy film that temporarily masks the scratch.
Can a scratched sapphire crystal be polished at all?
Yes, but it requires specialty diamond pastes, precise lapping equipment, and often removal of the crystal from the case. Because sapphire is so hard, the process is slow, and the cost frequently approaches that of a replacement crystal. Many professionals recommend replacement over polishing for sapphire unless the crystal is discontinued or vintage.
Is it safe to use a Dremel or rotary tool on a watch crystal?
Only if you can keep the speed below 1,000 RPM and use a clean cotton buff. Any wobble, excess speed, or dwell in one spot can melt or distort an acrylic crystal instantly. For most owners, hand polishing is safer and more controlled.
How can I tell if my crystal is acrylic, mineral, or sapphire?
Tap it with a fingernail: acrylic sounds dull and feels slightly soft, mineral glass produces a higher, glassy ping, and sapphire gives a crisp, high‑pitched tone. The temperature test helps too: acrylic warms up quickly against your wrist; mineral and sapphire stay cool longer. If uncertain, have a jeweler identify it before you use any abrasive.
Explore This Topic
- Back to General
- Back to Crystal Polish
Related guides in this cluster:
- Watch Crystal Types: Sapphire vs Mineral vs Acrylic — Complete Comparison
- Automatic vs Quartz vs Manual: Watch Movements Explained for Beginners
- How Much Does Watch Service Cost? Complete Brand-by-Brand Breakdown

The We Know Watches editorial team brings together over 40 years of combined watch collecting, trading, and repair experience. Our editors have owned and handled watches from every major brand — from entry-level Seiko 5s to Rolex, Omega, Patek Philippe, and independent Swiss watchmakers. We’ve bought and sold at auction, worked with authorized dealers, visited manufacturing facilities in Switzerland and Japan, and serviced hundreds of movements ranging from the Seiko 7S26 to the Longines L888. Every guide and review we publish is based on hands-on experience, original research, and consultation with professional watchmakers. We do not accept payment for reviews, and we clearly disclose when we use affiliate links.